61. To correct a tilted image, first use the measurement tool to draw a line (such as the border of the image, the frame, the horizontal lines between the eyes, etc.) on the map that can be used as a horizontal or vertical reference, and then select “Image†from the menu. "→" Rotate Canvas" → "Any Angle..." After opening, you will find that the correct rotation angle has been filled in automatically. Just press OK to OK.
62. You can use the cutting tool to complete the rotation and cutting work in one step: first draw a box with the cutting tool, drag the control point on the selection box to adjust the angle and size of the selection box, and finally press Enter to rotate And cut. The angle measured by the measuring tool is also automatically filled in the number conversion tool (Edit → Transform → Number) dialog box.
63. After the image is cropped, all the pixels outside the clipping range are lost. To cut without loss you can use the "canvas size" command instead. Although Photoshop will warn you that you will perform some cuts, for some reason, in fact, not all "cut out" data is kept outside the picture, but this has no effect on the index color mode.
64. Press Ctrl+Alt+Shift+E when merging visible layers to copy all visible layers and merge them into the current layer. It is also possible to hold the Alt key while merging layers, copy the current layer and merge it into the previous layer, but the Ctrl+Alt+E hotkey does not work.
65. Press Shift+Backspace to activate the Edit→Fill command dialog. Press Alt+Backspace to fill the foreground with a marquee; press Ctrl+Backspace to fill the background with eight marquee boxes.
66. Press Shift+Alt+Backspace key to fill the foreground color box and keep the transparent setting. Press Shift+CtrBackspace key to fill the selection box with the background color and keep the transparent setting.
67. Press Alt+Ctrl+Backspace to fill the selection or layer from the history. Press Shift+Alt+Ctrl+Backspace to fill the selection or layer from the history and keep the transparency setting.
68. Press Ctrl+“=â€key to enlarge the image display, but the window does not shrink. Press Ctrl+“-â€key to keep the image displayed continuously, but the window will not shrink. Press Ctrl+Alt+“=†key to display the image. Zoom in continuously, and the window is enlarged. Press Ctrl+Alt+“-†to keep the image displayed continuously and the window is reduced.
69. When moving layers and selections, hold the Shift key to move horizontally, vertically, or at a 45-degree angle; press the arrow keys on the keyboard to make a 1-pixel move each time; hold down the Shift key and press the key on the keyboard The arrow keys can do 10 pixel movements at a time.
70. When creating a guide, Shift-drag the guide to fit it to the scale; press Alt to drag the guide to change the guide to horizontal or vertical orientation.
71. In the "Image" → "Adjustment" → "Curve" command dialog box, hold down the Alt key inside the grid line to make the grid line fine or rough; hold down the Shift key and click the control point to select more Control points, hold down the Ctrl key and click on one of the control points to delete the point.
72. To copy an image on a layer to the center of another image window with a different size, hold down the Shift key while dragging to the destination window, and the image will be automatically centered after being dragged to the destination window.
73. When using the "Edit" → "Free Transform" (Ctrl + T) command, hold down the Ctrl key and drag a control point for free deformation adjustment; hold the Alt key and drag a control point can be symmetrical deformation Adjustment; Hold down the Shift key and drag a control point to make scaling adjustments; hold down the Shift+Ctrl key and drag a control point to adjust the perspective; press Shift+Ctrl and drag a control point Make a chamfer adjustment; press Enter to apply the transition; press Esc to cancel the operation.
74. In the swatch palette, press Shift to click a color block, then use the foreground color to replace the color; press Shift+Alt to click the mouse, then click the foreground color as a new color block; press the Alt key Click on a color block to change the background color to that color; pressing Ctrl to click on a color block will delete the color block.
75. On the Layers, Channels, Paths palette, press the Alt key to click on the tool buttons at the bottom of these palettes. The corresponding dialog box changes settings for the tool with the dialog box.
76. On the Layers, Channels, Paths palette, Ctrl-clicking a layer, channel, or path will load it as a selection; press Ctrl+Shift and click to add to the current selection; press Ctrl+Shift+Alt And click to cross the current selection.
77. When using the layer mask in the Layers palette, press the Shift key and click on the layer mask thumbnail. A red cross appears, indicating that the current mask is disabled. Press the Alt key and click on the layer mask. Board thumbnails, masks will be displayed as a whole image, easy to observe and adjust.
78. In the Paths palette, hold down the Shift key and click on the path bar of the Path palette to toggle the path display.
79. After changing the settings of a dialog box, to restore the previous value, hold down the alt key, the cancel button becomes the reset button, and click on the reset button.
Path skills
80. After clicking on a point on the adjustment path, press the "Alt" key and click the left mouse button to click on the point. At this time, one of the "adjustment lines" will disappear, and then click the next path point. It will not be affected.
PERFECT FOR MULTIPLE USES - you'll love using this gourmet scooper to create beautifully rounded balls of ice-cream, melon balls, sorbet, fruit, frozen yogurt, meatballs, sherbets, rice, popovers, canapes, mashed potatoes, gelatos, perfectly portioned cookies, mini cupcakes, pancakes, hamburger patties, muffins, and many more natural healthy meals, snacks and recipes! Also we will send you a bonus FREE recipe PDF to get you started.
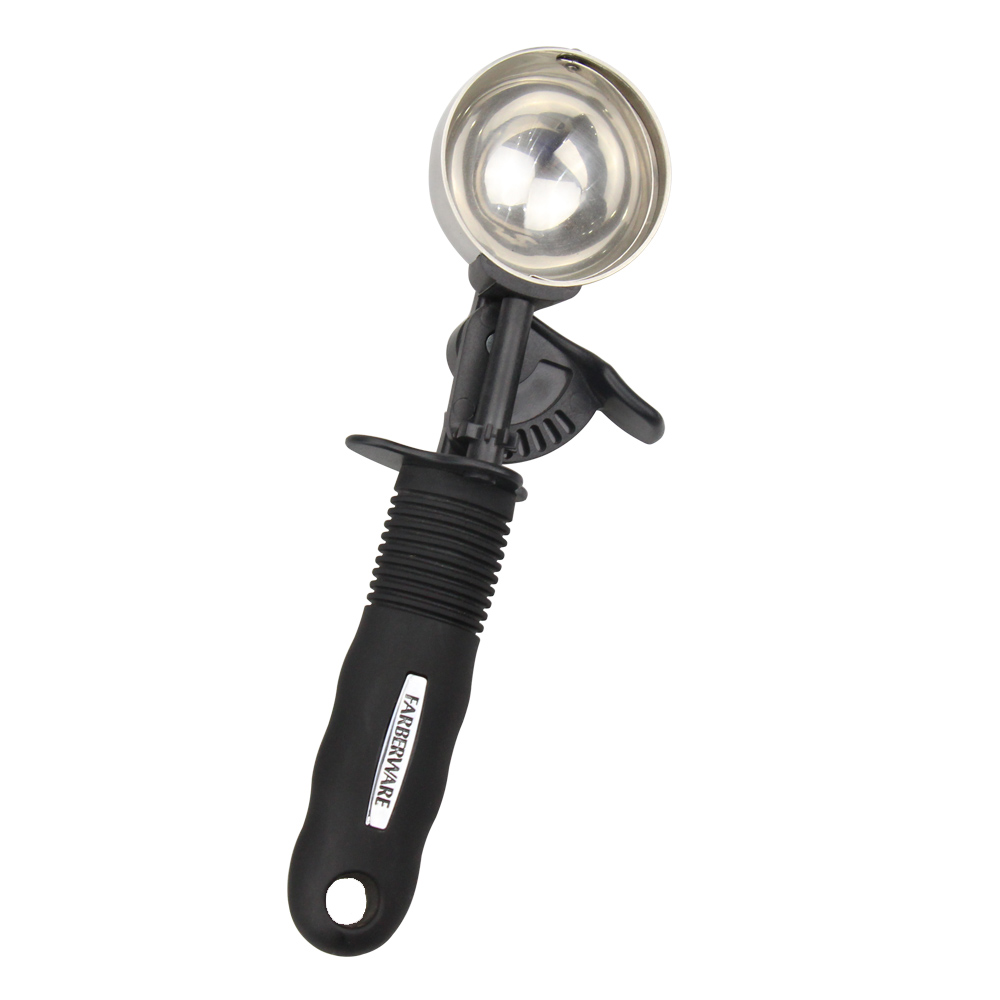
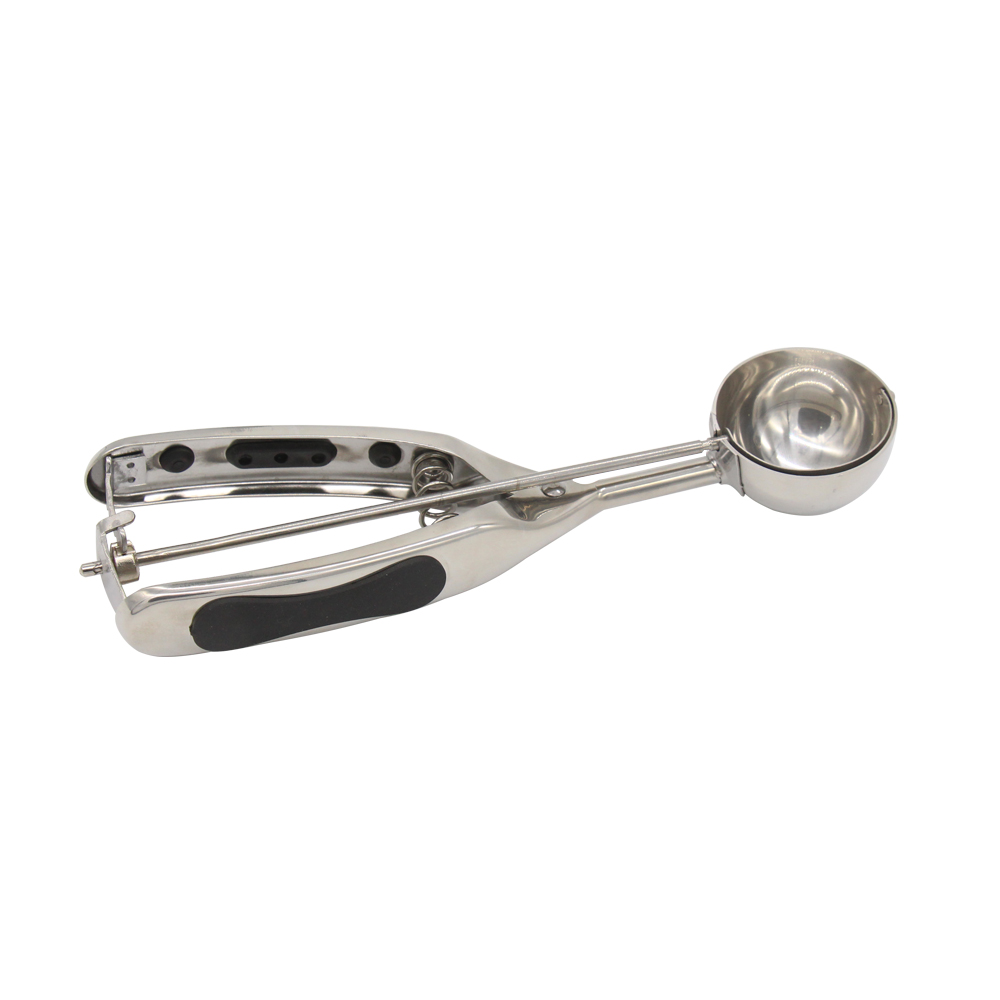
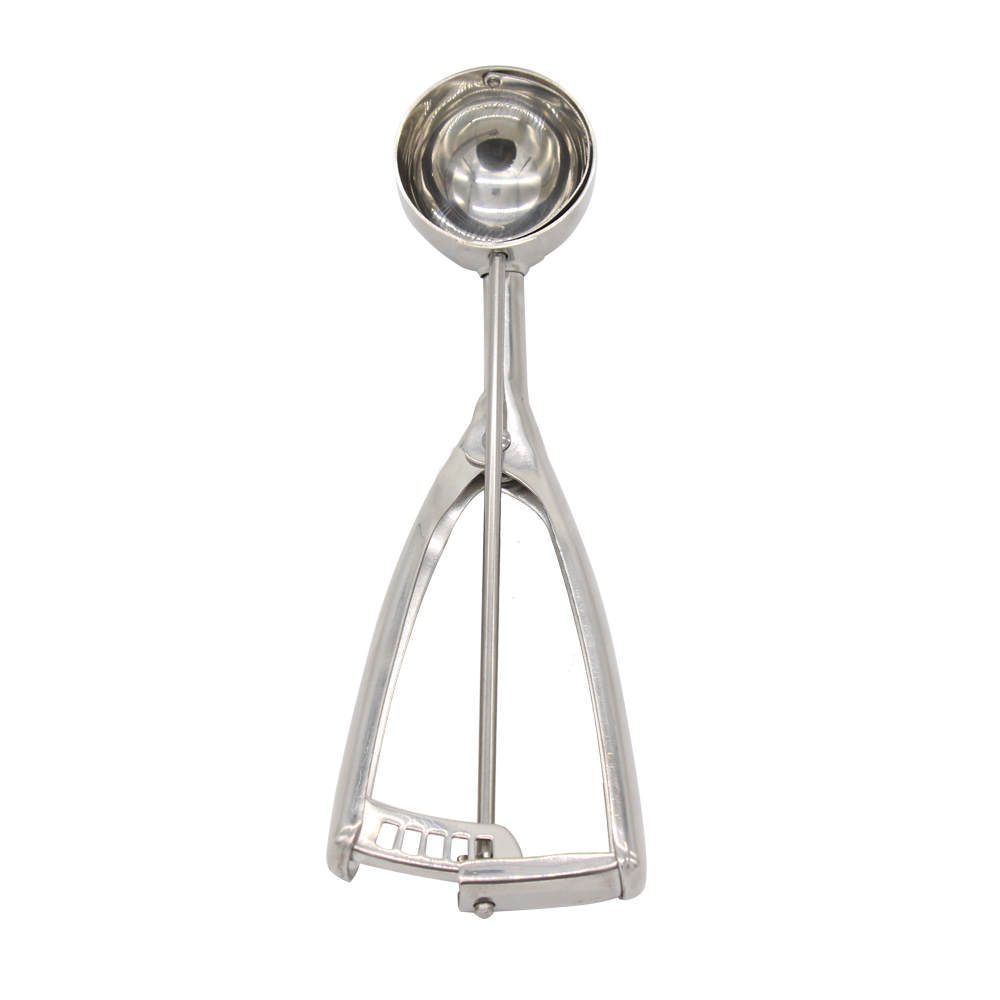
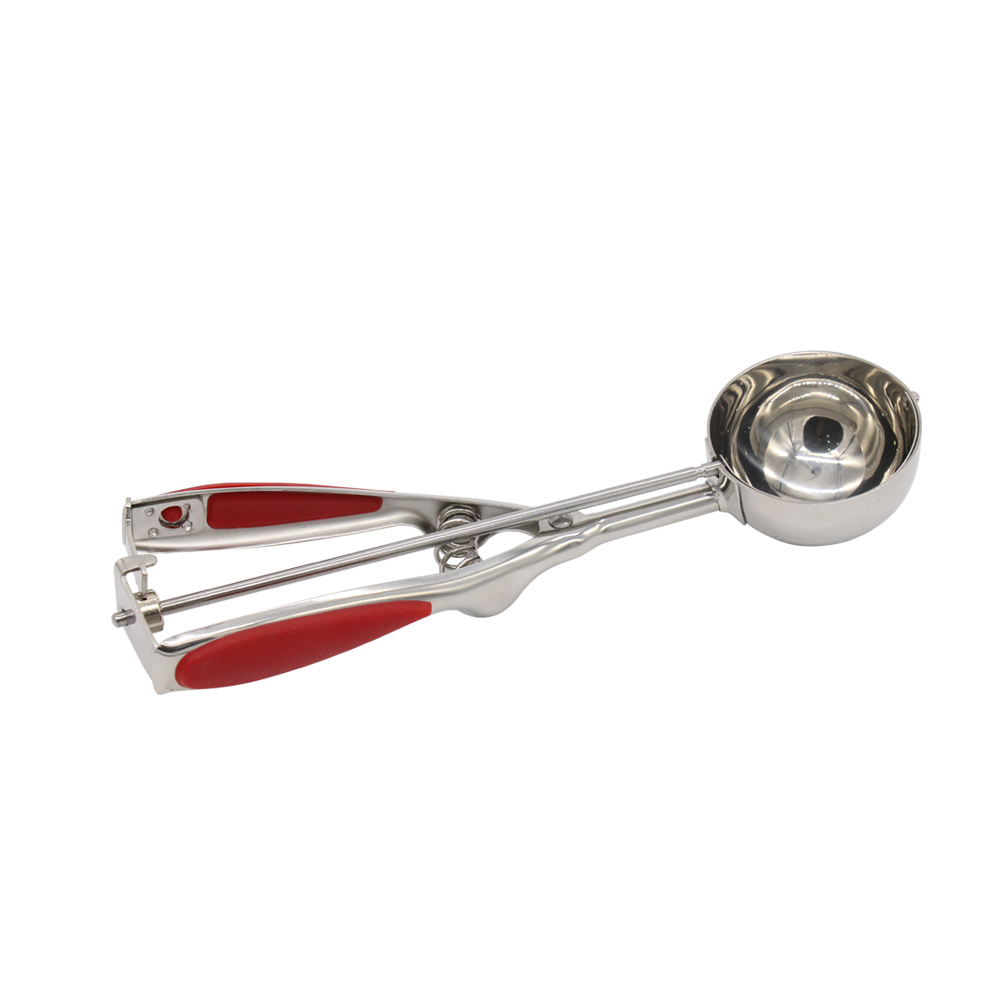
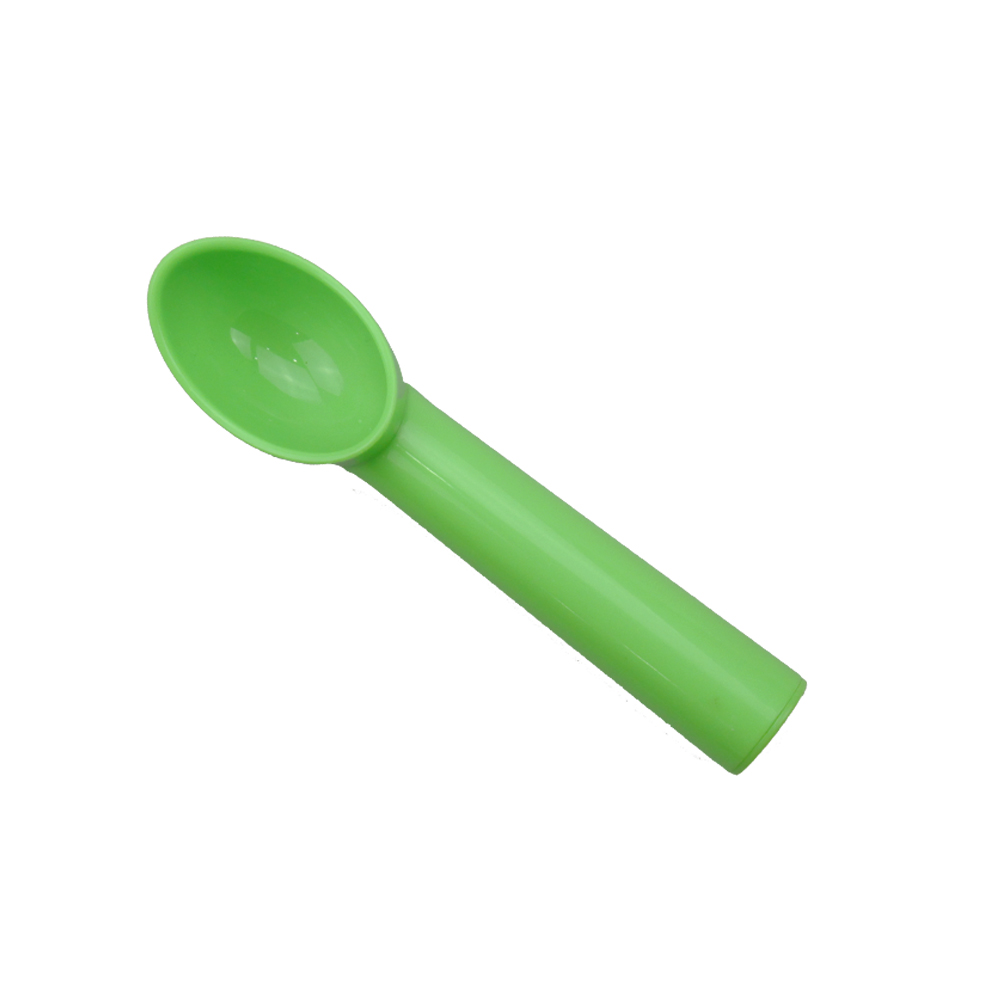
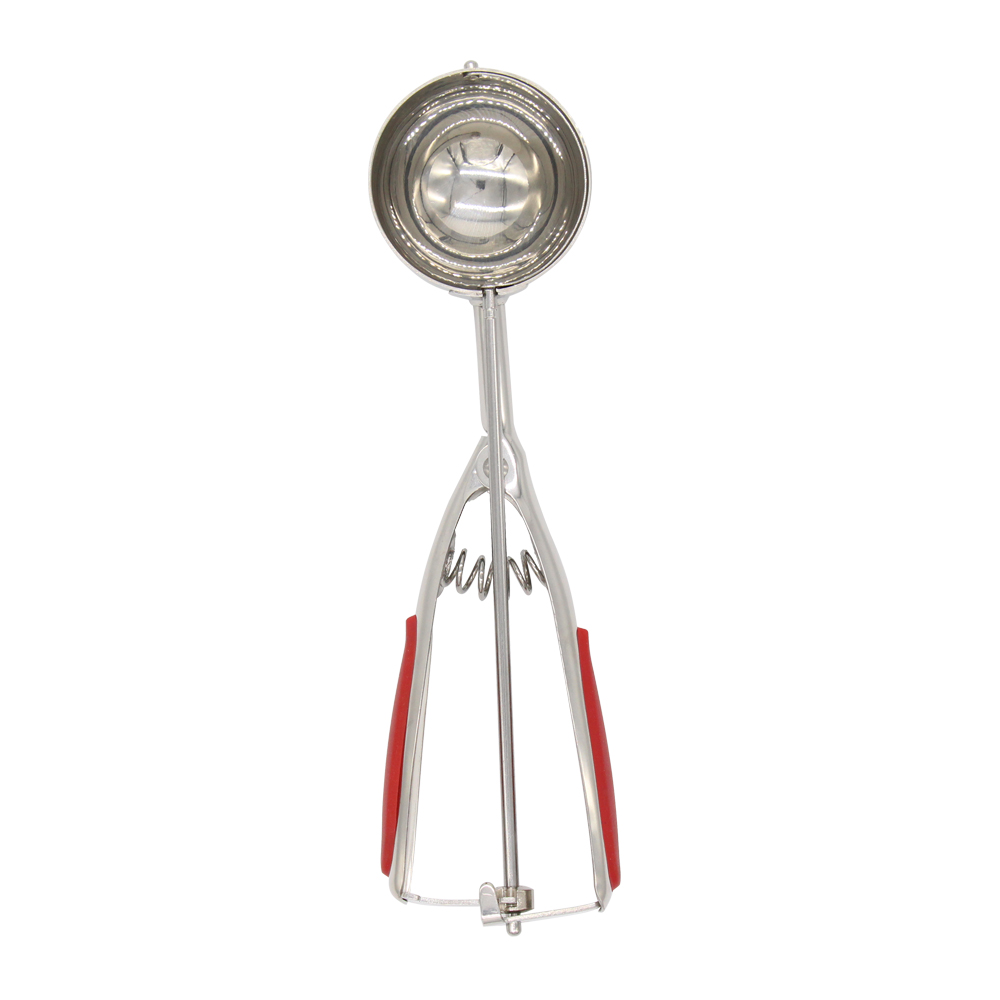
Ice Cream Scraper
YANGJIANG TOALLWIN TRADING CO., LTD , http://www.toallwin.com